Attached Photos
| Analysis ID | 5 | ||
|---|---|---|---|
| Facility | Franklin | Work Location | Floor Mount Sta 1 |
| Approved | Yes | Conducted By | Thurwanger |
| Date Conducted | 2025-01-15 | Approved By | Thurwanger |
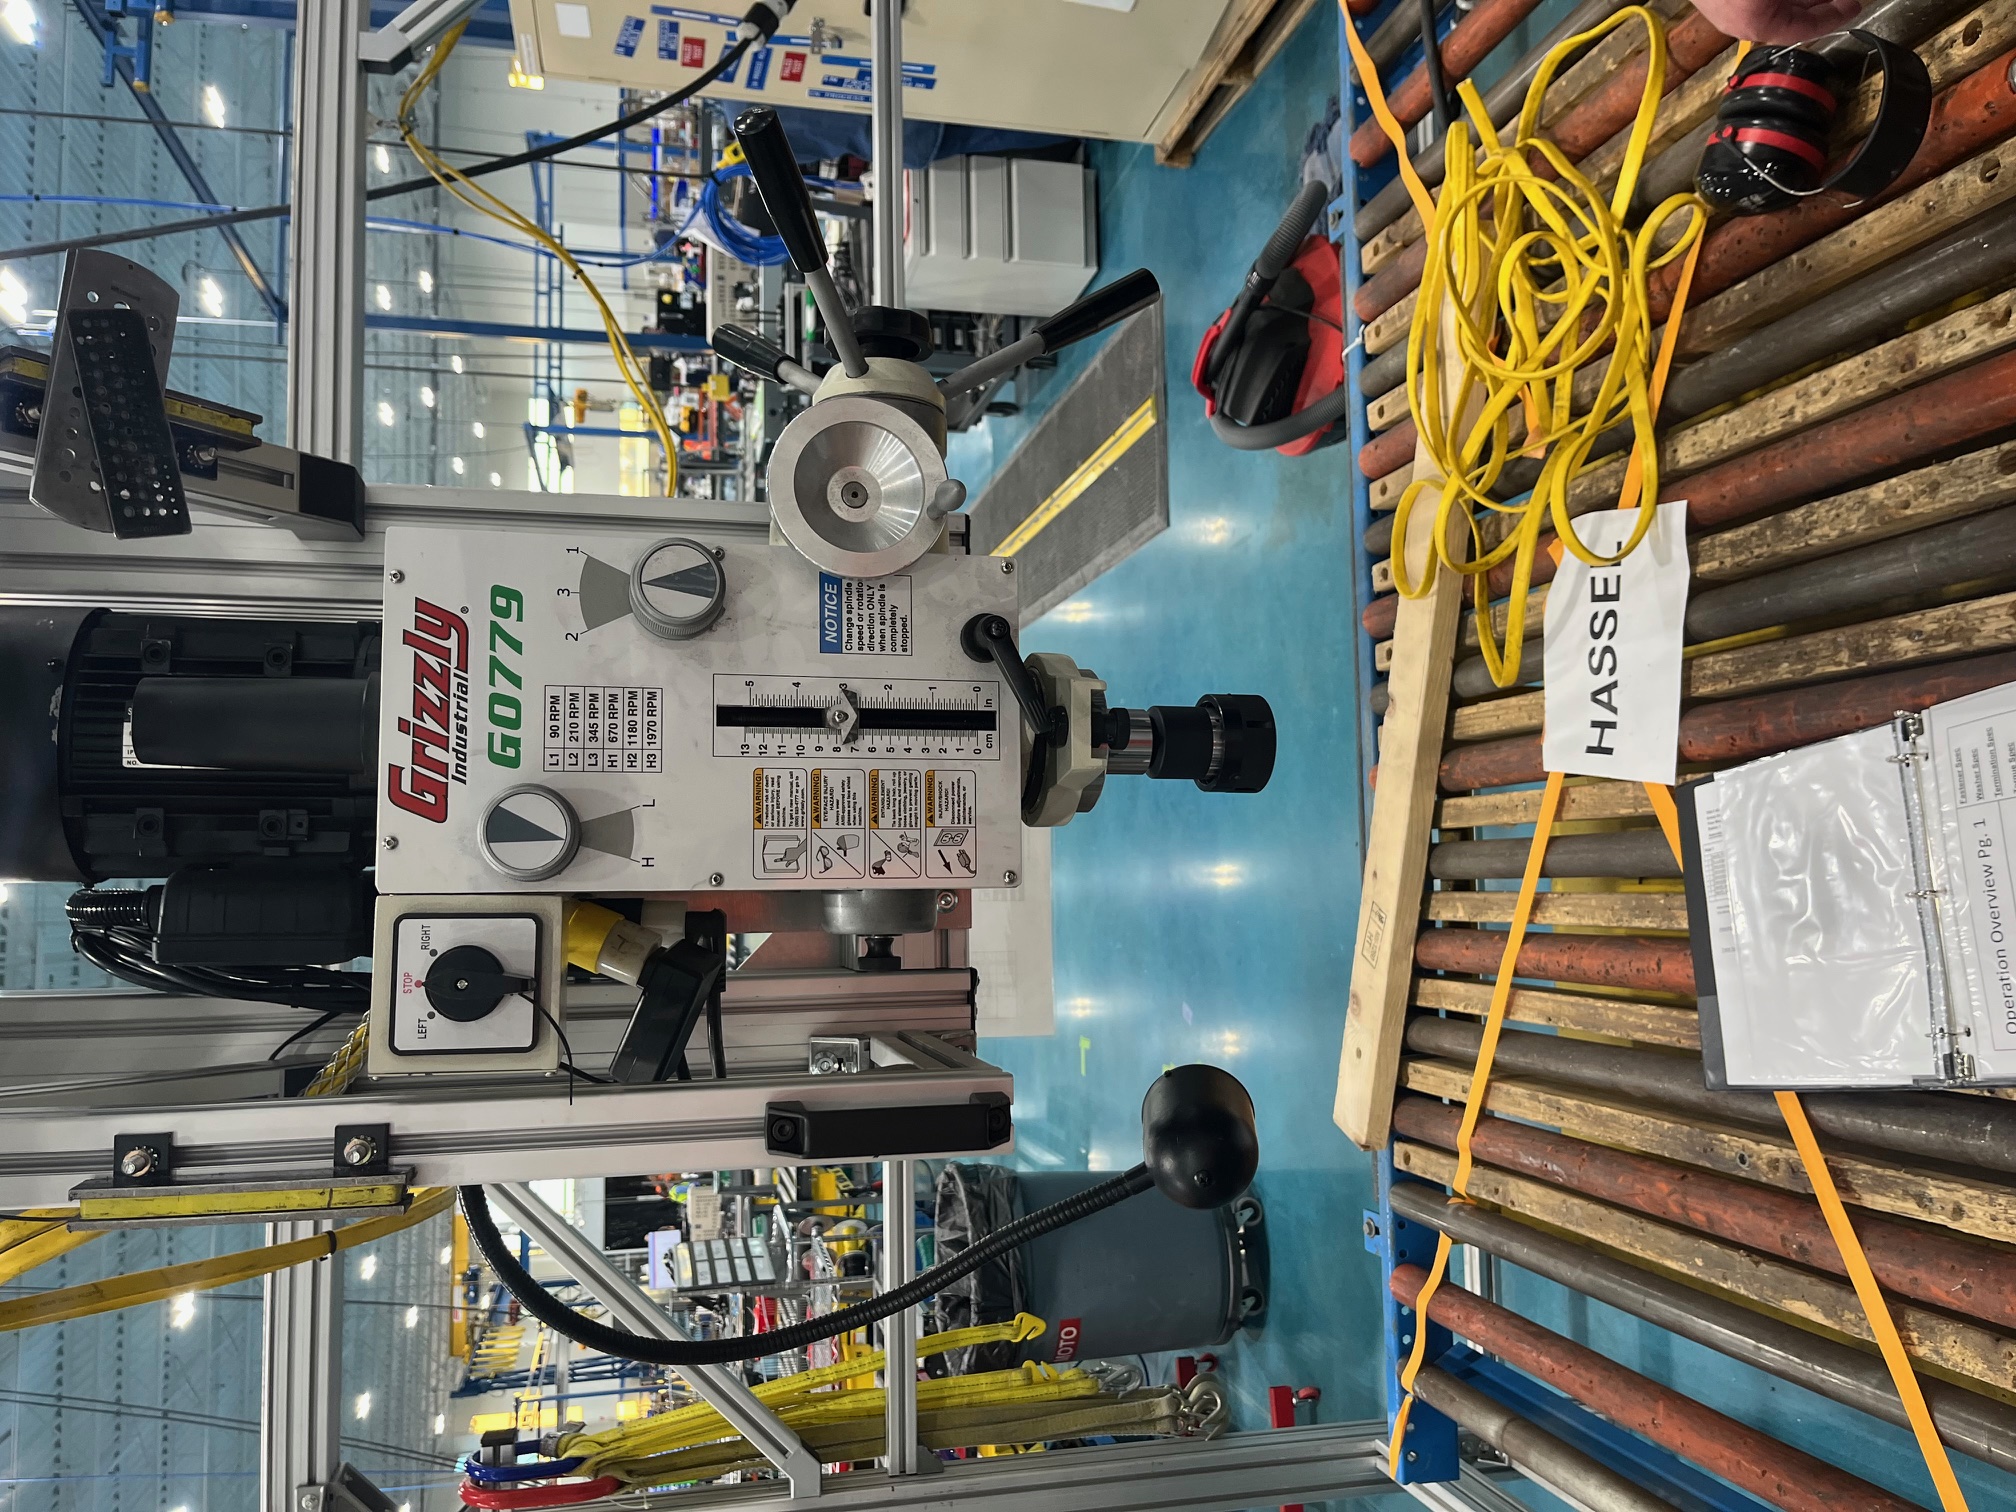
| Review Date | 2025-01-15 | Equipment Item | Drill Press with Quick Change Collet |
| Equipment Type | Fixed Tool | Make/Model No. | Grizzly G0779 |
| Description of Use | Drill holes in cold-rolled steel sheet metal panels | ||
| Summary of Key Risks | |||
| Operator Manuals Accessible | In Mfg Eng | User Certification Required | Yes |
| Restricted Use | Approved for drilling cold-rolled steel sheet metal panels. Not approved for tapping | ||
| Eye Protection | Safety glasses with side shields | Foot Protection | Safety shoes with toe protection |
| Face Protection | Not required | Protective Clothing | Standard facility dress code for production |
| Hearing Protection | 0 | Respiratory Protection | Not Required |
| Hand Protection | Do not wear gloves when hand is near rotating parts of tool | Decibels | 64 |
| Routine Operation Hazards | 1) Cut by/punctured by tool 2) Struck by hazard if panel is not secure and panel spins if drill bit binds 3) Cut by sharp edges or burrs on sheet metal or chips |
||
| Routine Maintenance Hazards | 1) Potential pinch point when changing quick change collet | ||
| Shutdown/Isolate Unit Hazards | 1) Exposure to electrical conductors - Lock-out/Tag-out procedure must be followed to isolate power prior to performing maintenance | ||
| Preventive Measures | 1) Keep all body parts away from rotating bit and collet 2) Do not wear gloves, loose fitting clothing, or loose jewelry in area of rotating parts 3) Wear assigned PPE 4) Use only a vacuum to clean chips. To not brush with hand (even if gloved) |
||
| Equipment Procedures | Changing Quick Change Collet 1) Only perform with power off 2) Firmly grasp quick change collet then twist chuck counter-clockwise (to the right) to release the collet 3) Place collet in designated storage location 4) Slide replacement collet into the drill press until it clicks then tug down to ensure it is locked in place Drill Usage 1) Adjust conveyor table to the panel is approximately 1/2" below the drill bit then adjust the rollers on the conveyor to the lock position 2) Refer to DRI-I-0413 page 9 Spindle Speed chart to set the speed based on the drill bit size 3) Turn power switch to "Left" 4) Use the Operating Lever to drill through the panel. Once the bit has cleared the sheet metal, return the Operating Lever to the top Monitor Drill Bit Sharpness 1) Indicators of a dulling drill bit are: Louder noise when cutting the sheet metal, Higher pitch when cutting the sheet metal, More Force needed to cut the sheet metal, "Walking" or "Chatter" in the drill bit. Change the drill bit when any of these indicators are present |
||